Measuring Box
Sometimes it can be difficult to find the largest piece of an oddly shaped item. Having a measuring device that will provide 90° angles for you to position your items against can be a huge help in getting accurate measurements. The following quick tutorial will show you how to make an inexpensive DIY measuring box at home.
Step 1: Gather Your Materials
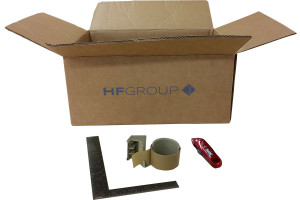
To make a measuring box, you will need a shipping carton, box cutter, carpenter’s square, some packing tape and a ruler. Choose a shipping carton that is in good, clean condition. A larger shipping carton will allow you to do larger books. The shipping carton pictured is 19″ H x 13″ W x 8.5″ D.
Step 2: Cut Open the Front of the Carton
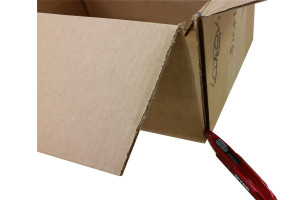
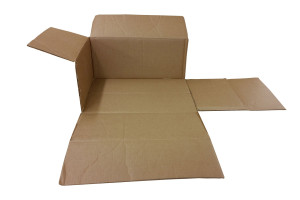
Using a box cutter or other sharp implement, slice from the top of the carton to the bottom along the two front corners of the box to open up one of the long sides of the carton.
Step 3: Cut Off the Bottom Inside Flaps
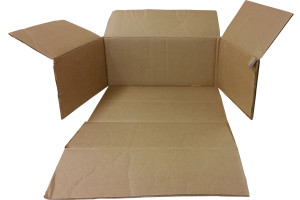
Now cut off the inside flaps of the shipping carton. We do this for two reasons. One, we want a level surface to lay our items on for measuring. Two, we’ll be using those flaps later.
Step 4: Tape the Bottom Sides
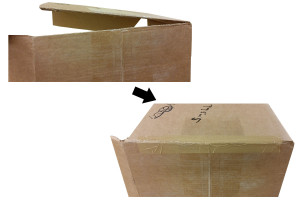
Now that we have removed the bottom inside flaps, the box no longer holds together. Rotate the carton up on its side and use packing or duct tape to reform the sides of the carton. Remember, you still want to leave the front open.
Step 5: Cut Open the Back Right Side
Once the sides have been reattached to the bottom of the carton, cut open the rear right side to let the right side flap lay flat against the table. This opens up the shipping carton to allow you to do larger items.
Step 6: Create Your Square
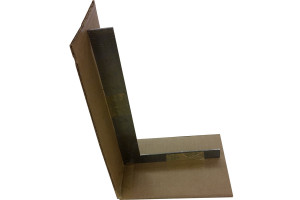
Retrieve the two bottom inside flaps and the carpenter’s square. Tape the carpenter’s square to the two inside flaps so that they stabilize the square and form a 90° angle. You will also want to tape the flaps together to stabilize them.
Step 7: Place Item in Carton
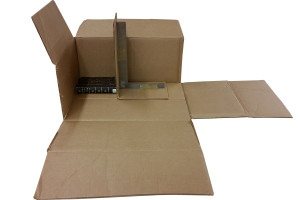
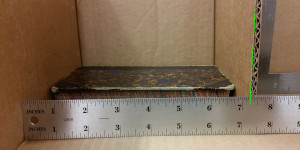
Place an item inside the carton so that it is snug against the back and left walls of the box. If your item has any give to it, place the item under gentle pressure to hold everything in place while you slide the square so that it is snug up against the item.
